
Windows 10 Task Manager shows 100% disk usage, something is causing your hard drive to over-work. The good news is, it’s usually not a hard problem to fix.
09 Best Ways to Fix a 100% Disk Usage on Windows 10
Windows 10 users who experience issues such as slow response time may look into their Task Manager for guidance. Task Manager provides you with a wealth of information regarding the processes that are currently running on your machine.
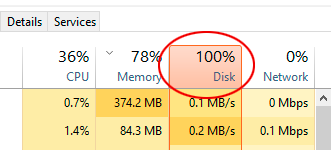
Among the metrics, you can monitor with Task Manager is your computer’s disk usage. If you see a disk usage of 100% your machine’s disk usage is maxed out and your system’s performance will be degraded. You need to take some corrective action.
Way 1: Restart Your System
You know from experience that restarting your machine can often resolve all kinds of issues. Your Windows 10 100% disk usage problem is no exception. While taking this route may not help you find out the underlying reason for the problem, if it goes away, that may be sufficient for you.

Be sure to use the “Restart” option which starts your system in a fresh state as opposed to the “Shut Down” option which preserves your system state and may not resolve your disk issue
Way 2:Disable SuperFetch
SuperFetch helps to decrease boot time and make must-load programs more efficiently. However, it has been identified as a potential cause of disk performance issues in Windows 8 and later versions of Windows, including Windows 10. Here’s how to stop this service:
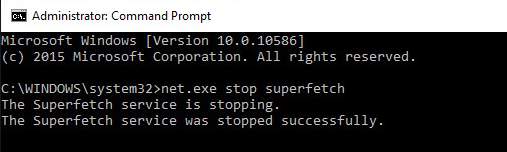
1) On your keyboard, press Windows logo key, type command prompt, then select Run as administrator.

2) Click Yes at the User Account Control prompt.

3) The command prompt will once again display. Type in the following command:
net.exe stop superfetch
4) Hit Enter on your keyboard.
5) If the command above isn’t valid, try the following one instead:
net.exe stop sysmain
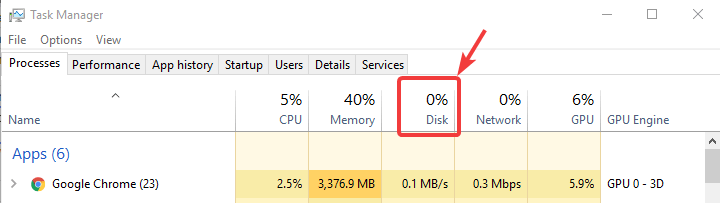
6) Wait for a few minutes to see if your computer starts performing better. Or check your computer’s disk usage: Type “task manager” in the Windows search bar and select Task Manager, then in the Processes tab, look at the % at the top of the Disk column. If it’s no longer 100%, you’ve fixed the problem!
If the 100% disk usage problem persists, try the next method, below.
Way 3: Update Windows
Installing the latest updates can often resolve mysterious problems with your Windows 10 system. Check if you are up to date by going into the “Update and security” section of the Windows Settings app.
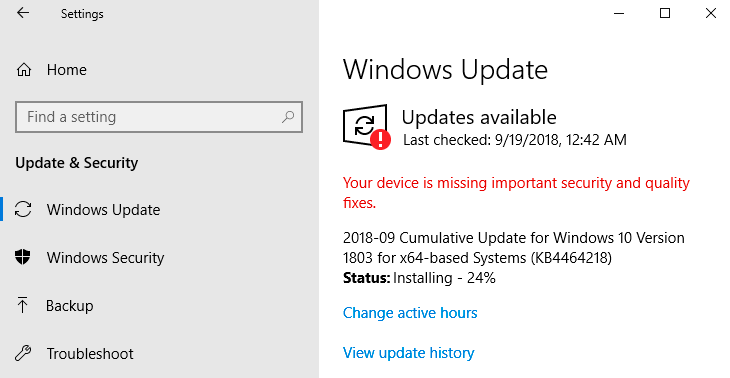
You can check for new updates and install them if they are available.
Settings > Update & Security settings > Windows Update
This may improve the overall performance of your system including that of your hard drive.
Way 4: Disable Windows Search
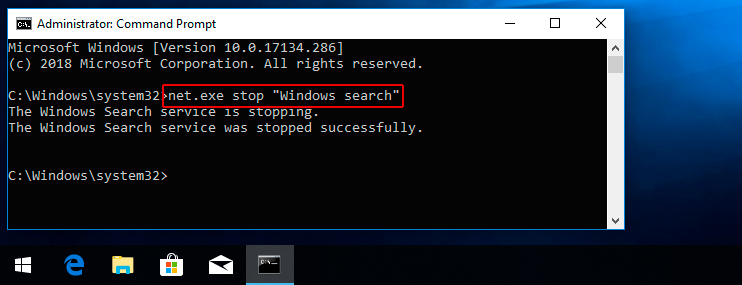
A known bug in Windows 8 and 10 can cause a search loop that can be the cause of your high disk usage. To temporarily stop the Windows Search facility and see if it improves your disk issue, open an admin prompt and enter the command: net.exe stop “Windows search”. This will stop Windows search from running until the next time Windows is restarted.
If it turns out that Windows Search was responsible for your Windows 10 disk usage reaching 100%, you can disable it permanently by following this procedure:
- Press the Windows key + R, enter services.msc and hit Enter.
- The services window will open. Select the Windows Search entry and double-click it to update its properties.
- Select Disabled under Startup type and then OK to save your changes.
Way 5:Perform a disk check
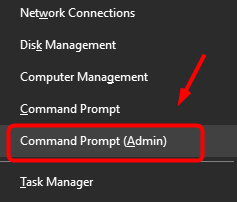
1) On your keyboard, press Windows key and X at the same time, then choose Command Prompt (Admin).
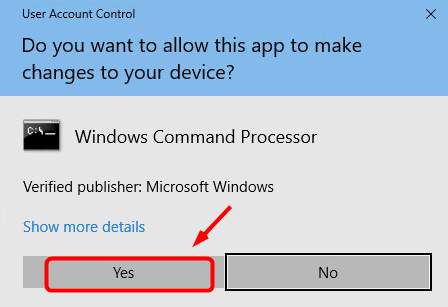
2) Click Yes at the User Account Control prompt.
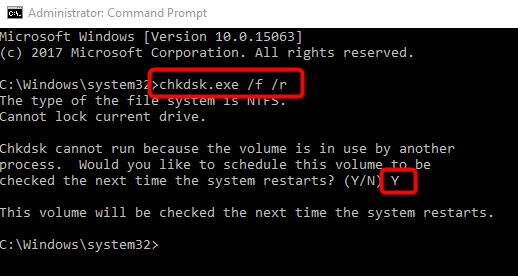
3) The command prompt will once again display. Type in the following command:
chkdsk.exe /f /r
4) Hit Enter on your keyboard, then type Y to confirm that you’d like to perform the disk check the next time you restart your computer. Please make sure you have closed all of your applications first.
IMPORTANT: Disk check will start the next time you boot your PC and it might take some time to complete (could be a day for some). If, when you restart, you don’t have time to wait for the disk check to complete, you can skip it. You’ll need to reschedule it again, as described above, though.
5) Once you’ve completed the disk check, check your computer’s disk usage again: Type “task manager” in the Windows search bar and select Task Manager, then in the Processes tab, look at the % at the top of the Disk column. If it’s no longer 100%, you’ve fixed the problem!
If the 100% disk usage problem persists, try the next method, below.
Way 6:Reset Virtual Memory
Virtual memory can be considered an extension of your computer’s physical memory. It’s a combination of RAM and a portion of your hard drive. When the RAM isn’t enough to perform a task, Windows will temporarily store files in virtual memory, then swap them back to RAM when required.
To reset virtual memory:
1) On your keyboard, press Windows key and Pause/ Break key at the same time. Then choose Advanced System Settings on the left panel.

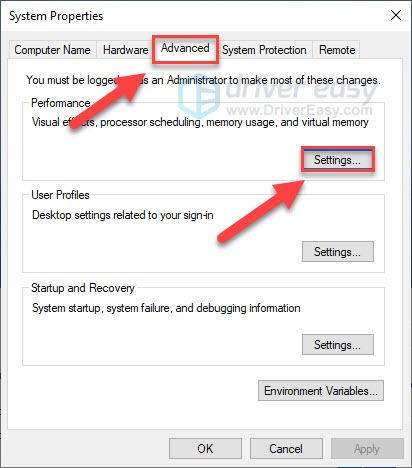
2) Go to the Advanced tab, then click Settings.
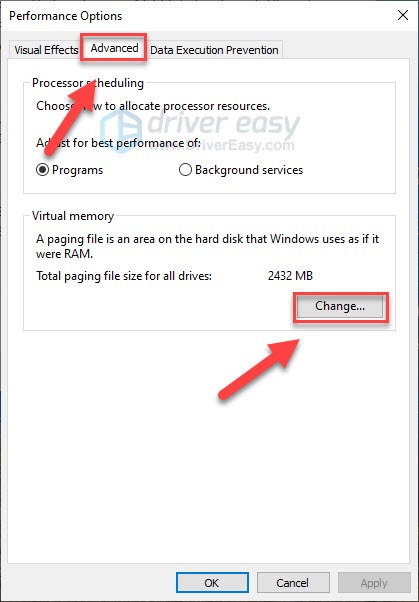
3) Go to the Advanced tab again, and choose Change… in the Virtual memory section.
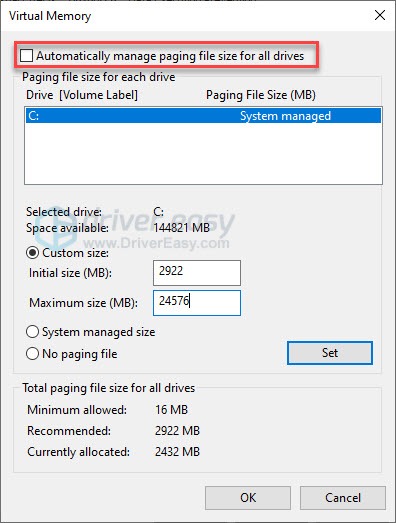
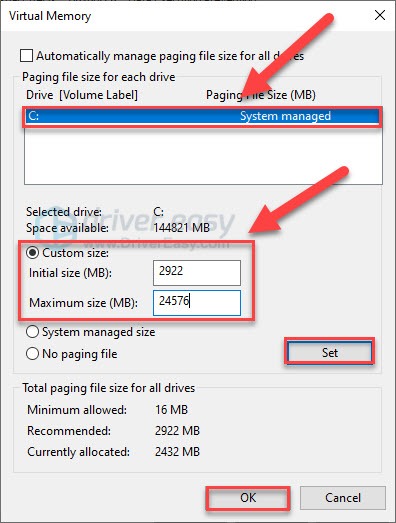
4) Ensure the Automatically manage paging file size for all drives checkbox is NOT ticked.
5) Select your windows drive (the hard drive or partition that has Windows installed on it – usually C:), and enter an Initial size and Maximum size for your virtual memory:
- Initial size – This value varies, depending on your computer. If you’re not sure what value to use, just enter whatever the number is in the Recommended category.
- Maximum size – Don’t set this value too high. It should be about 1.5 times the size of your physical RAM. e.g. A PC with 4 GB (4096 MB) of RAM should have no more than about 6,144 MB virtual memory (4096 MB x 1.5).
Once you’ve entered your virtual memory values, click Set, then click OK to continue.
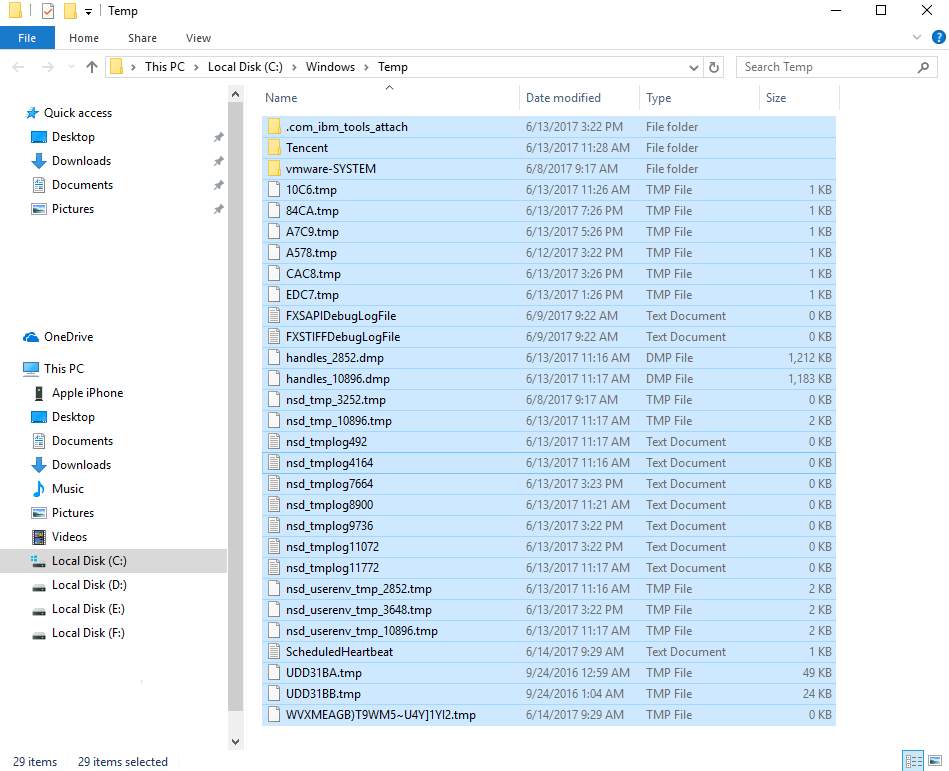
6) Clear all your computer’s ‘temp’ files. On your keyboard, press Windows key and R at the same time, then in the Run form, type temp and hit Enter. This will invoke Windows Explorer with your Temp folder open, showing you all the temp files on your computer.
7) Select all the files in the Temp folder and delete them.
8) Check your computer’s disk usage: Type “task manager” in the Windows search bar and select Task Manager, then in the Processes tab, look at the % at the top of the Disk column. If it’s no longer 100%, you’ve fixed the problem!
If the 100% disk usage problem persists, try the next method, below.
Way 7: Change Energy Options from Balanced to High Performance
This change of energy settings seems to have worked for a number of users who have experienced 100% disk usage on Windows 10.
Use this procedure:
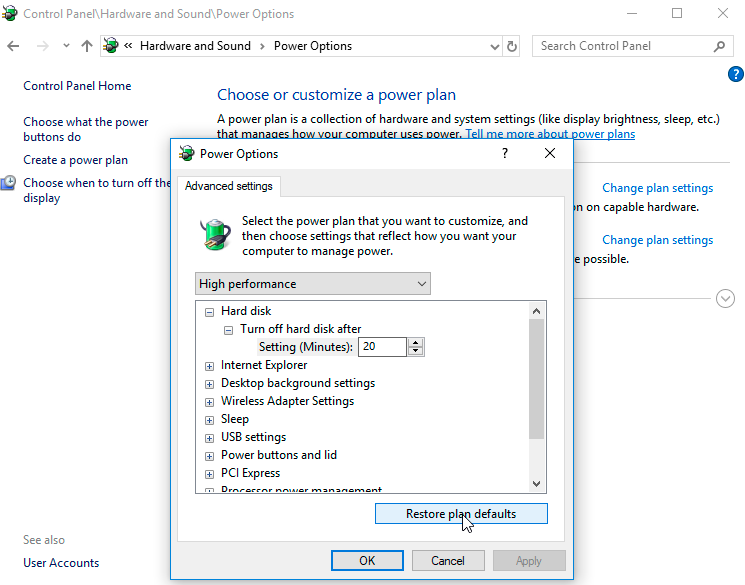
- Go to Power Options > Change plan settings > Change advanced power settings.
- Select the High-performance option from the drop-down box and make sure all plan settings are set to their defaults.
Way 8: Check Disk
When have low space then will show so clean the disk then will solve .

Way 9: Temporarily Turn Off Your Antivirus Software
Another step to take when investigating the cause behind your Windows 10 100% disk usage problem is to turn off your antivirus software temporarily. See if this improves your disk usage. If so, you may want to consider changing antivirus packages. Even Windows Defender can cause problems by increasing I/O and network usage which might lead to high disk usage.


1 Comments
NJ casinos 2021 – Your guide to online casino gambling in
ReplyDeleteThe casino also casinowed.com offers various games that players can https://septcasino.com/review/merit-casino/ enjoy in-game for 우리카지노aprcasino play 온라인카지노 at online casinos. The best online casino NJ has an online 바카라 사이트